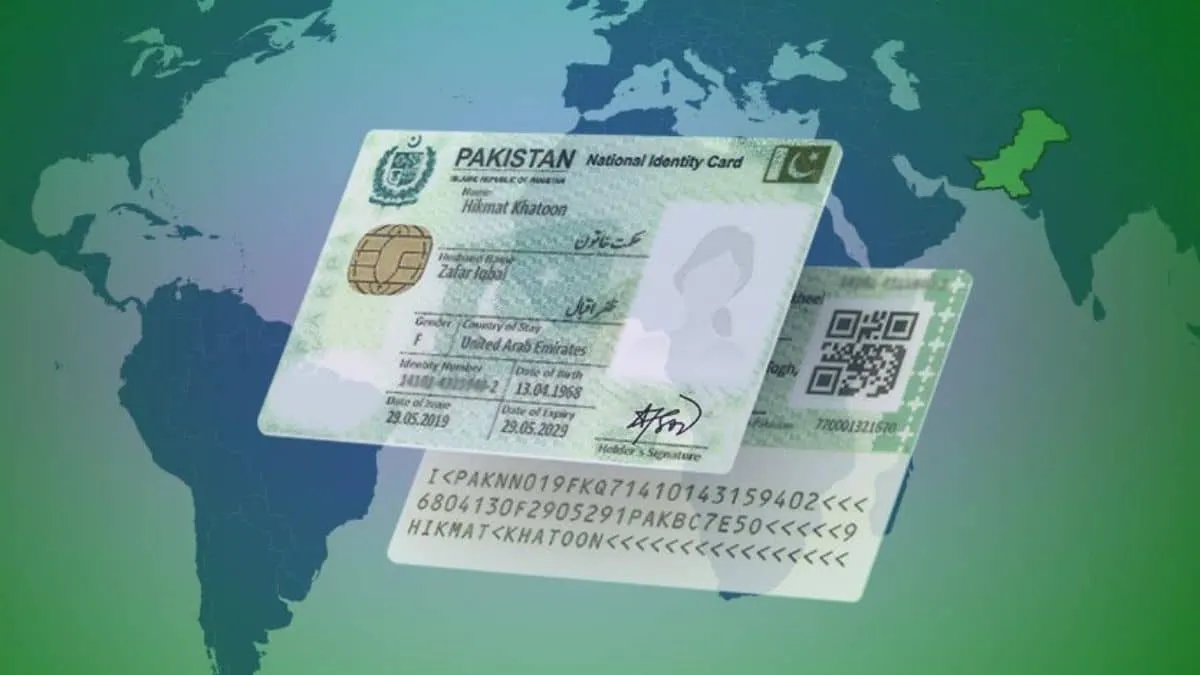
Understanding the Transition from CNIC to NICOP
The National Database and Registration Authority plays a central role in managing identity documents for citizens living inside Pakistan as well as those planning to reside abroad. For individuals preparing to relocate internationally, holding the correct documentation is a legal necessity. The National Identity Card for Overseas Pakistanis serves as the primary identification document for citizens living outside the country, granting them specific rights and simplifying their travel and administrative procedures. Transitioning from a standard Computerised National Identity Card or Smart CNIC to this overseas variant requires following specific bureaucratic channels established by the authority.
Many citizens find themselves needing this conversion when they secure employment, education, or residency status in another country. The authority recently released detailed guidance to help applicants understand the requirements before they step into a registration office. By clarifying the documentation needed, the biometric procedures, and the financial costs involved, the agency aims to prevent delays and ensure applicants are fully prepared.
What is a NICOP and Why Do You Need It?
A National Identity Card for Overseas Pakistanis is a specialized document issued to citizens who hold dual nationality or reside outside the home country for extended periods. Unlike a standard domestic identity card, this document is tailored to the needs of expatriates, allowing them to travel to Pakistan without requiring a visa under certain conditions. It also grants property ownership rights, the ability to open bank accounts designed for non-resident citizens, and access to consular services at embassies and consulates abroad.
Failing to update your status when moving abroad can complicate legal and financial transactions both in your host country and back home. The state mandates that individuals establishing long-term residence overseas update their documentation. This ensures accurate population databases and allows the government to extend consular protection and support to its diaspora community effectively.
Documents Required to Convert CNIC to NICOP
Gathering the proper paperwork is the first major milestone in the conversion journey. Applicants must present specific credentials to prove their identity and their legal right to reside outside the country. Missing or invalid paperwork will result in immediate rejection or prolonged delays at the registration desk.
Citizens must bring their existing domestic identity card, whether it is the older paper version or the newer Smart CNIC. In addition to this primary identification, individuals must provide documents that establish their overseas connection. These supporting items include a valid Pakistani passport, a foreign passport if the applicant holds dual citizenship, a current residence permit, an official work permit, or other government-issued travel papers from the destination country.
Step-by-Step Guide on How to Convert CNIC to NICOP
The authority has established a structured six-step workflow to handle applications at physical offices. Knowing what to expect at each stage helps applicants move through the system efficiently.
Step 1: Obtain a Token
Begin by visiting a nearby registration facility operated by the agency. Bring your current identity card and all supporting travel or residency documents. Approach the reception desk to secure an official token, then wait in the designated area until your number appears on the display screens.
Step 2: Complete Biometric Verification
When the electronic system calls your token number, walk over to the assigned service counter. A representative will review your initial paperwork, verify your identity against the central database, and initiate the formal application sequence.
Step 3: Provide Personal Information
The desk officer will input your personal details, employment status, and foreign address into the central network. This phase includes capturing your fingerprints, scanning your irises, and taking a fresh digital photograph. Review all entered data carefully on the screen before the officer locks the record, as errors at this stage can cause printing mistakes.
Step 4: Obtain Application Approval
Once data entry concludes, the supervisor or officer in charge reviews the file for compliance. Officials may ask questions regarding your family tree or domestic background to verify your credentials further. You must answer these inquiries accurately to clear this administrative check.
Step 5: Pay the NICOP Fee
Following successful approval by the reviewing officer, a notification message will arrive on your registered mobile phone. This text contains instructions for settling the required charges. You must pay the fee online based on your chosen processing speed and geographic zone.
Step 6: Collect Your NICOP
After completing the payment, the office issues a tracking receipt. Keep this document in a safe place. Return to the same facility to pick up your new card once the designated timeline for your chosen category expires.
NADRA NICOP Fees and Processing Times Explained
The cost and delivery speed of your document depend on the service tier you select. The authority divides the fee structure into different zones, reflecting regional economic factors, and offers three distinct processing speeds.
- Normal Category: Requires 31 days to process. Zone A fee is $39, while Zone B fee is $20.
- Urgent Category: Requires 23 days to process. Zone A fee is $57, while Zone B fee is $30.
- Executive Category: Requires 9 days to process. Zone A fee is $75, while Zone B fee is $40.
Applicants must ensure they pay the exact amount corresponding to their assigned zone and chosen speed to avoid processing holds.
Impact on Expatriates and Travelers
Transitioning to an overseas identity card directly impacts how citizens interact with government institutions while living abroad. Without this document, traveling back home can become complicated, often requiring visa applications that citizens are otherwise exempt from. Furthermore, financial institutions in Pakistan require up-to-date overseas credentials to manage foreign currency accounts and property assets owned by expatriates.
Businesses and families relying on remittances also benefit from clear legal documentation, as it keeps banking channels open and compliant with international anti-money laundering regulations. Keeping your national database record accurate prevents frozen accounts and ensures seamless communication with consular offices during emergencies.
What to Watch For Next
After submitting your application and paying the required fees, monitor your mobile phone for status updates from the registration authority. Keep your physical collection receipt accessible, as staff members will request it when you arrive to pick up the finished card. If processing times exceed the published limits due to technical delays or verification checks, applicants should contact the helpline or visit the issuing center for assistance.